While indexing the WoodSmith magazine collection I saw a sharpening jig for a card scraper. I have struggled sharpening the one I received as a gift from the Marc Adams School of Woodworking. I also found an excellent article on how to sharpen a card scraper on the web. I saved this to the General/Woodworking database in DevonThink.

The jig needs two key features. The first is a means of holding a fine cut file with an adjacent right angle. The second is a 15° bevel next to a hole for a burnishing steel. The crude plan above shows these key features with a few measurements. A clamp on the left will hold the edge flattening file in place next to a vertical brass wall. On the right side of the jig is the bevel to hold the scraper while forming the burr. The finely cut file to be used is 9/16" wide so the distance between it and the brass wall is 1/2". The distance between the wall and the bevel is not important as long as it is at least 3/4" wide. The distance between the steel and the bevel should be about 1/8" and the bevel should have a 1/8" shoulder. This allows plenty of relief for the first burr to "hide" while the second burr on the opposite face is made. The total width of the jig will be at least 2 3/8" without the clamp. The jig will be 6" long, matching the width of my scraper.
A 5 1/2" length of Baltic Birch plywood was found in the scrap pile. From it were cut four pieces: 4", 2 3/8", & 2 X 2". Together these four pieces when glued together will be 2 3/4" wide. The two 2" pieces were glued together using "brads in the corners" to minimize slippage during glue-up. These will become the center pieces and need a 1/4" groove cut in them prior to further gluing. The piece that is 2 3/8" wide had the 15° bevel cut on one long side as this also had to be cut prior to further gluing.
After about 2 hours the 1/4" groove was cut in the two glued parts with the router. The other side of this part was then drilled 3/8" about 1/8" from the edge opposite the groove. This was done with a temporary fence on the drill press using a 1/8" drill as spacer. A 3 1/2" piece of 1/4" X 1" brass was found. All corners were chamfered with a file. The flat faces were sanded with 320 grit sandpaper. The beveled part was then glued to the two pieces already glued again using brads in the corners. This part was glued so that the bevel started about 1/8" beyond the top of the other part to provide the relief shown in the plan. The clamp was made from a 2" X 5 1/2" piece of Baltic Birch. All but 1/2" was reduced to a 5/8" thickness with a dado blade in the table saw. These two parts can be seen in the following picture.
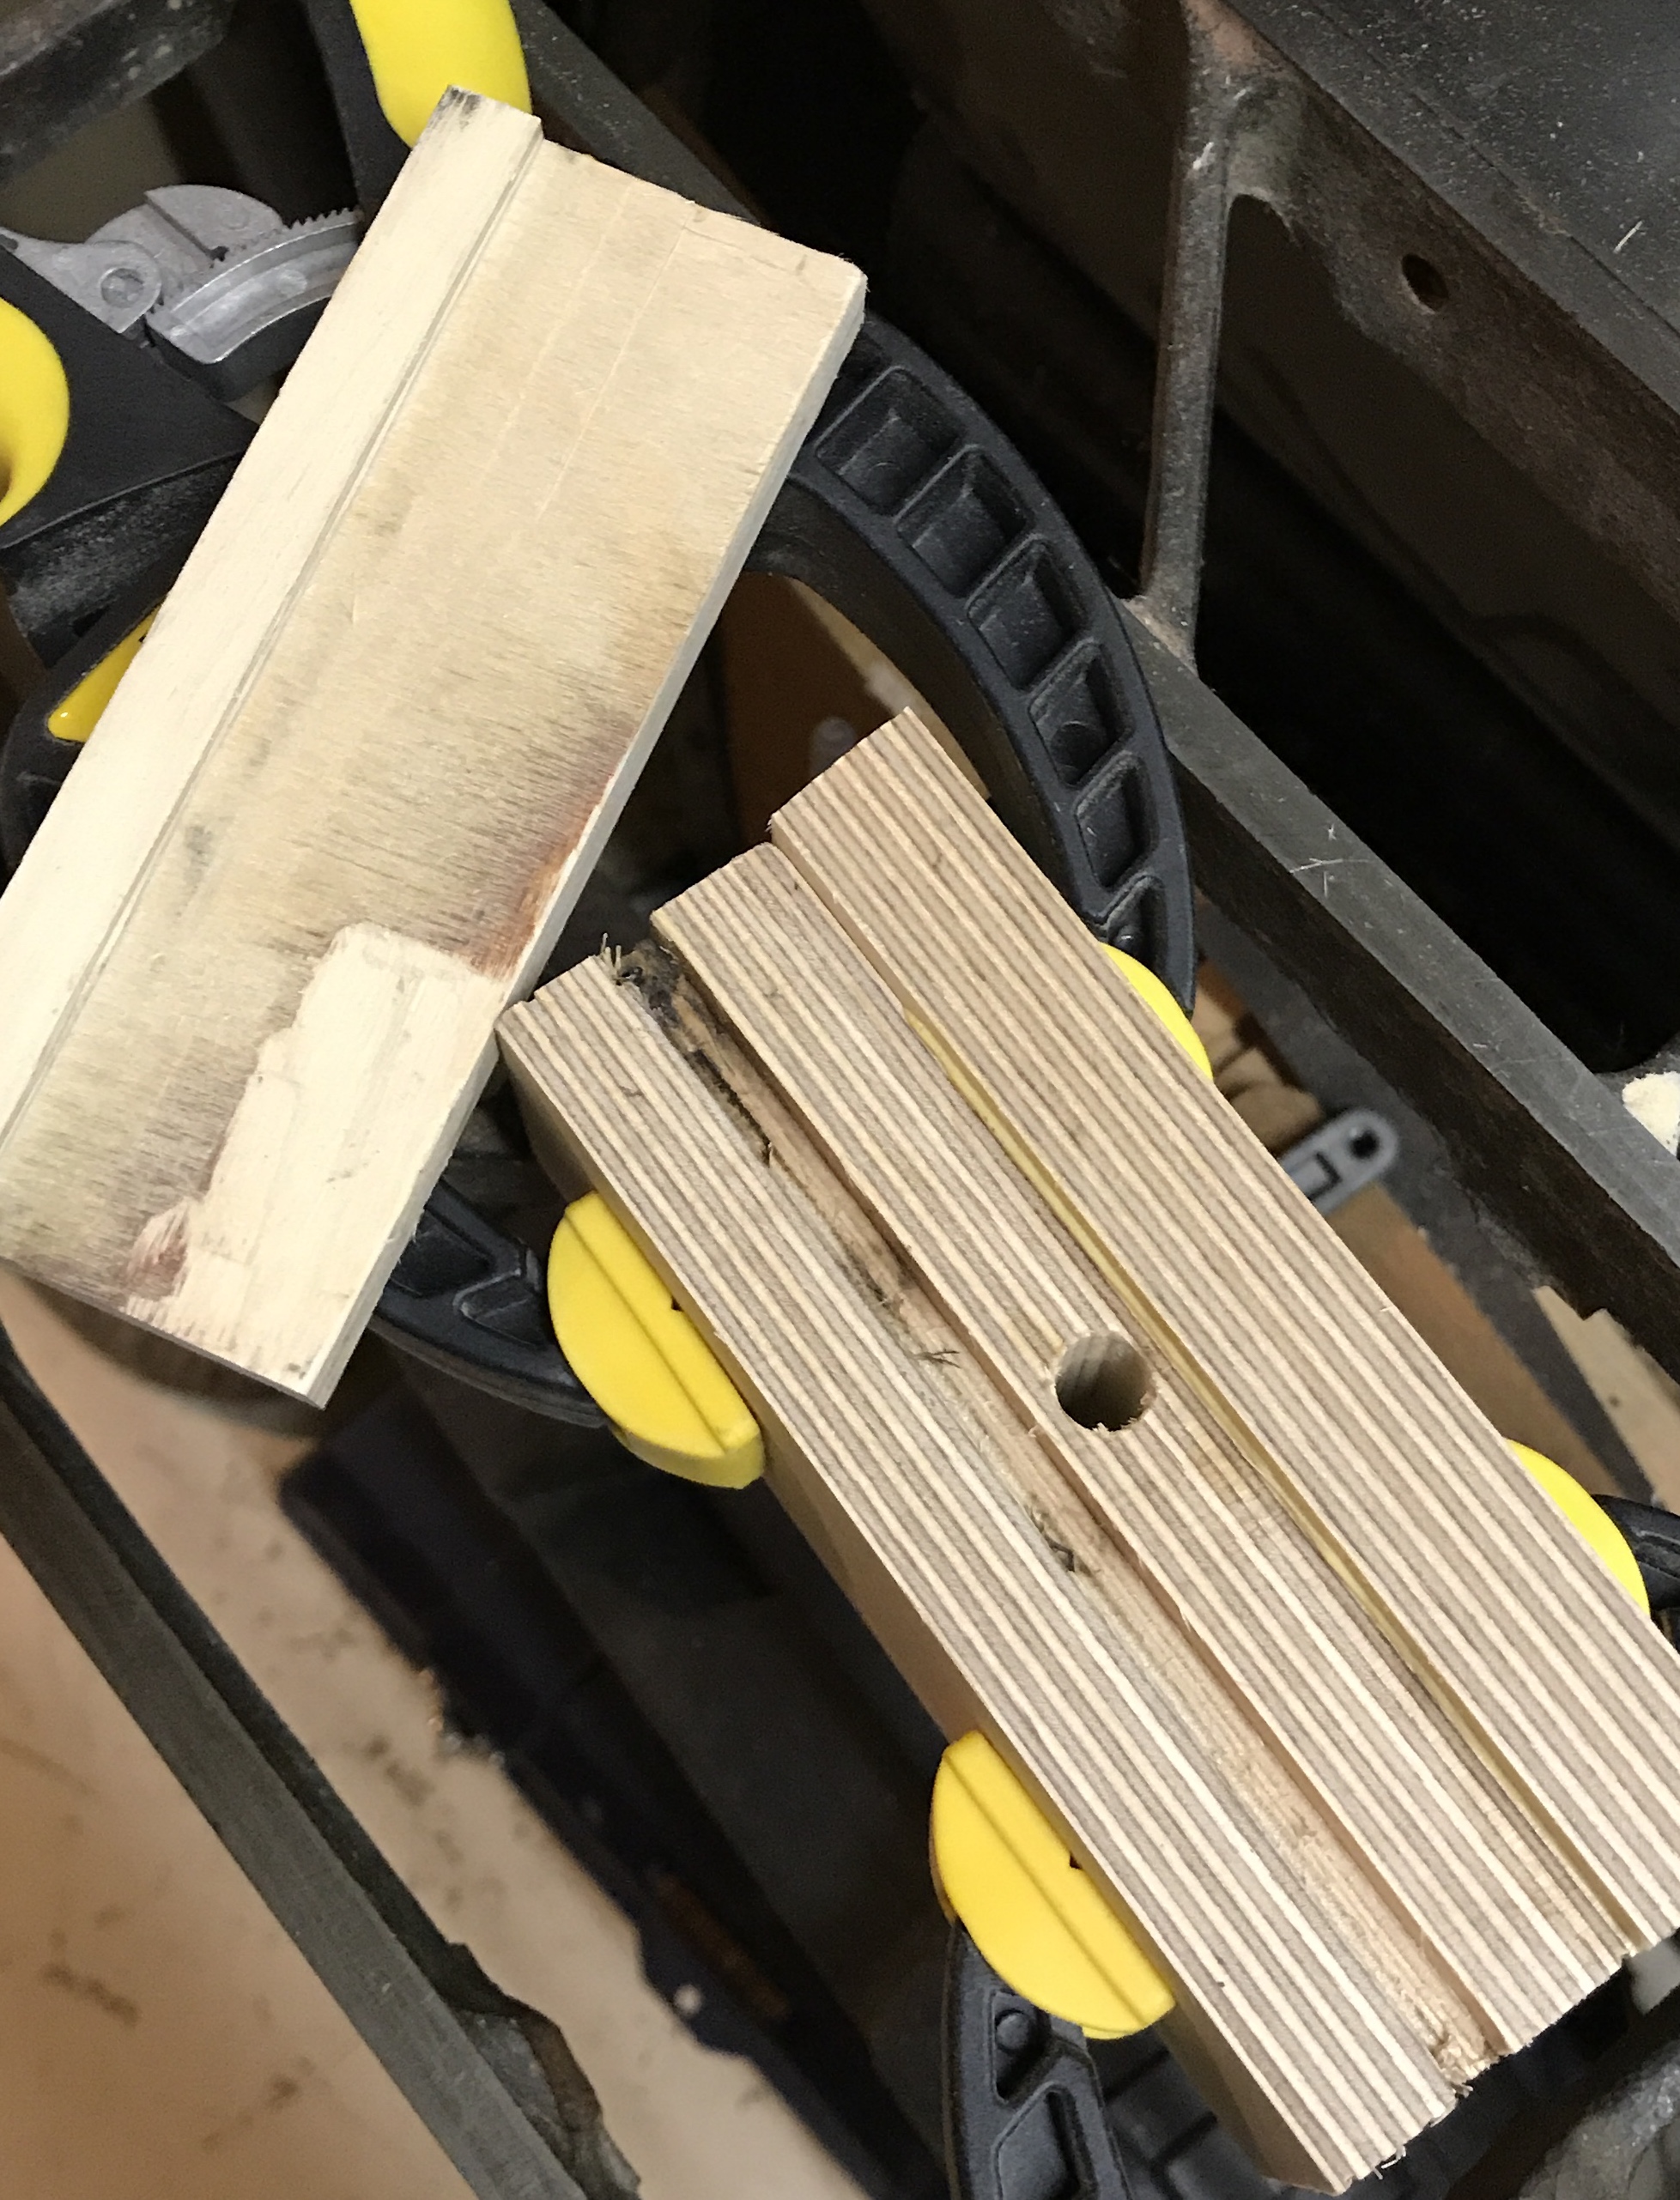
Notice the mistake already?! Haven't put the last layer on where the groove should be! Glued on the 4" X 6" piece and will fill the first and regroove in the right location. Will need to cut the groove on the mill.
The final layer (4" X 5 1/2") was glued on and the mistaken groove was filled with a 1/4" X 1/4" piece of plywood. The new groove was cut on the mill with a 1/4" end mill to a depth of 3/8". Two holes were drilled for the screws to clamp the moving jaw to the body. First two holes were marked out about 1" in from the edges and 3/4" down from the top of the clamp. They were drilled on the drill press (11/32" drill) with the clamp held at the angle provided by the large dado. The holes were transfered to the body of the drill allowing the clamp to sit proud of the top of the body by about 3/16". These holes were drilled with an F drill and tapped 5/16-18. Two bolts with washers were found to fit. A cross hole was drilled into the hole for the steel with a #25 drill and tapped 12-24. A long SHCS was used to provide the holding action for the steel. Finally the 5 1/2" wide by 4" long extension for holding the jig in a vise was narrowed by cutting both sides out as seen in the photo. A little cleanup provided the finished jig. (After the fact a hole was drilled through from the top to fit the hex wrench appropriate for the screw holding the steel.)
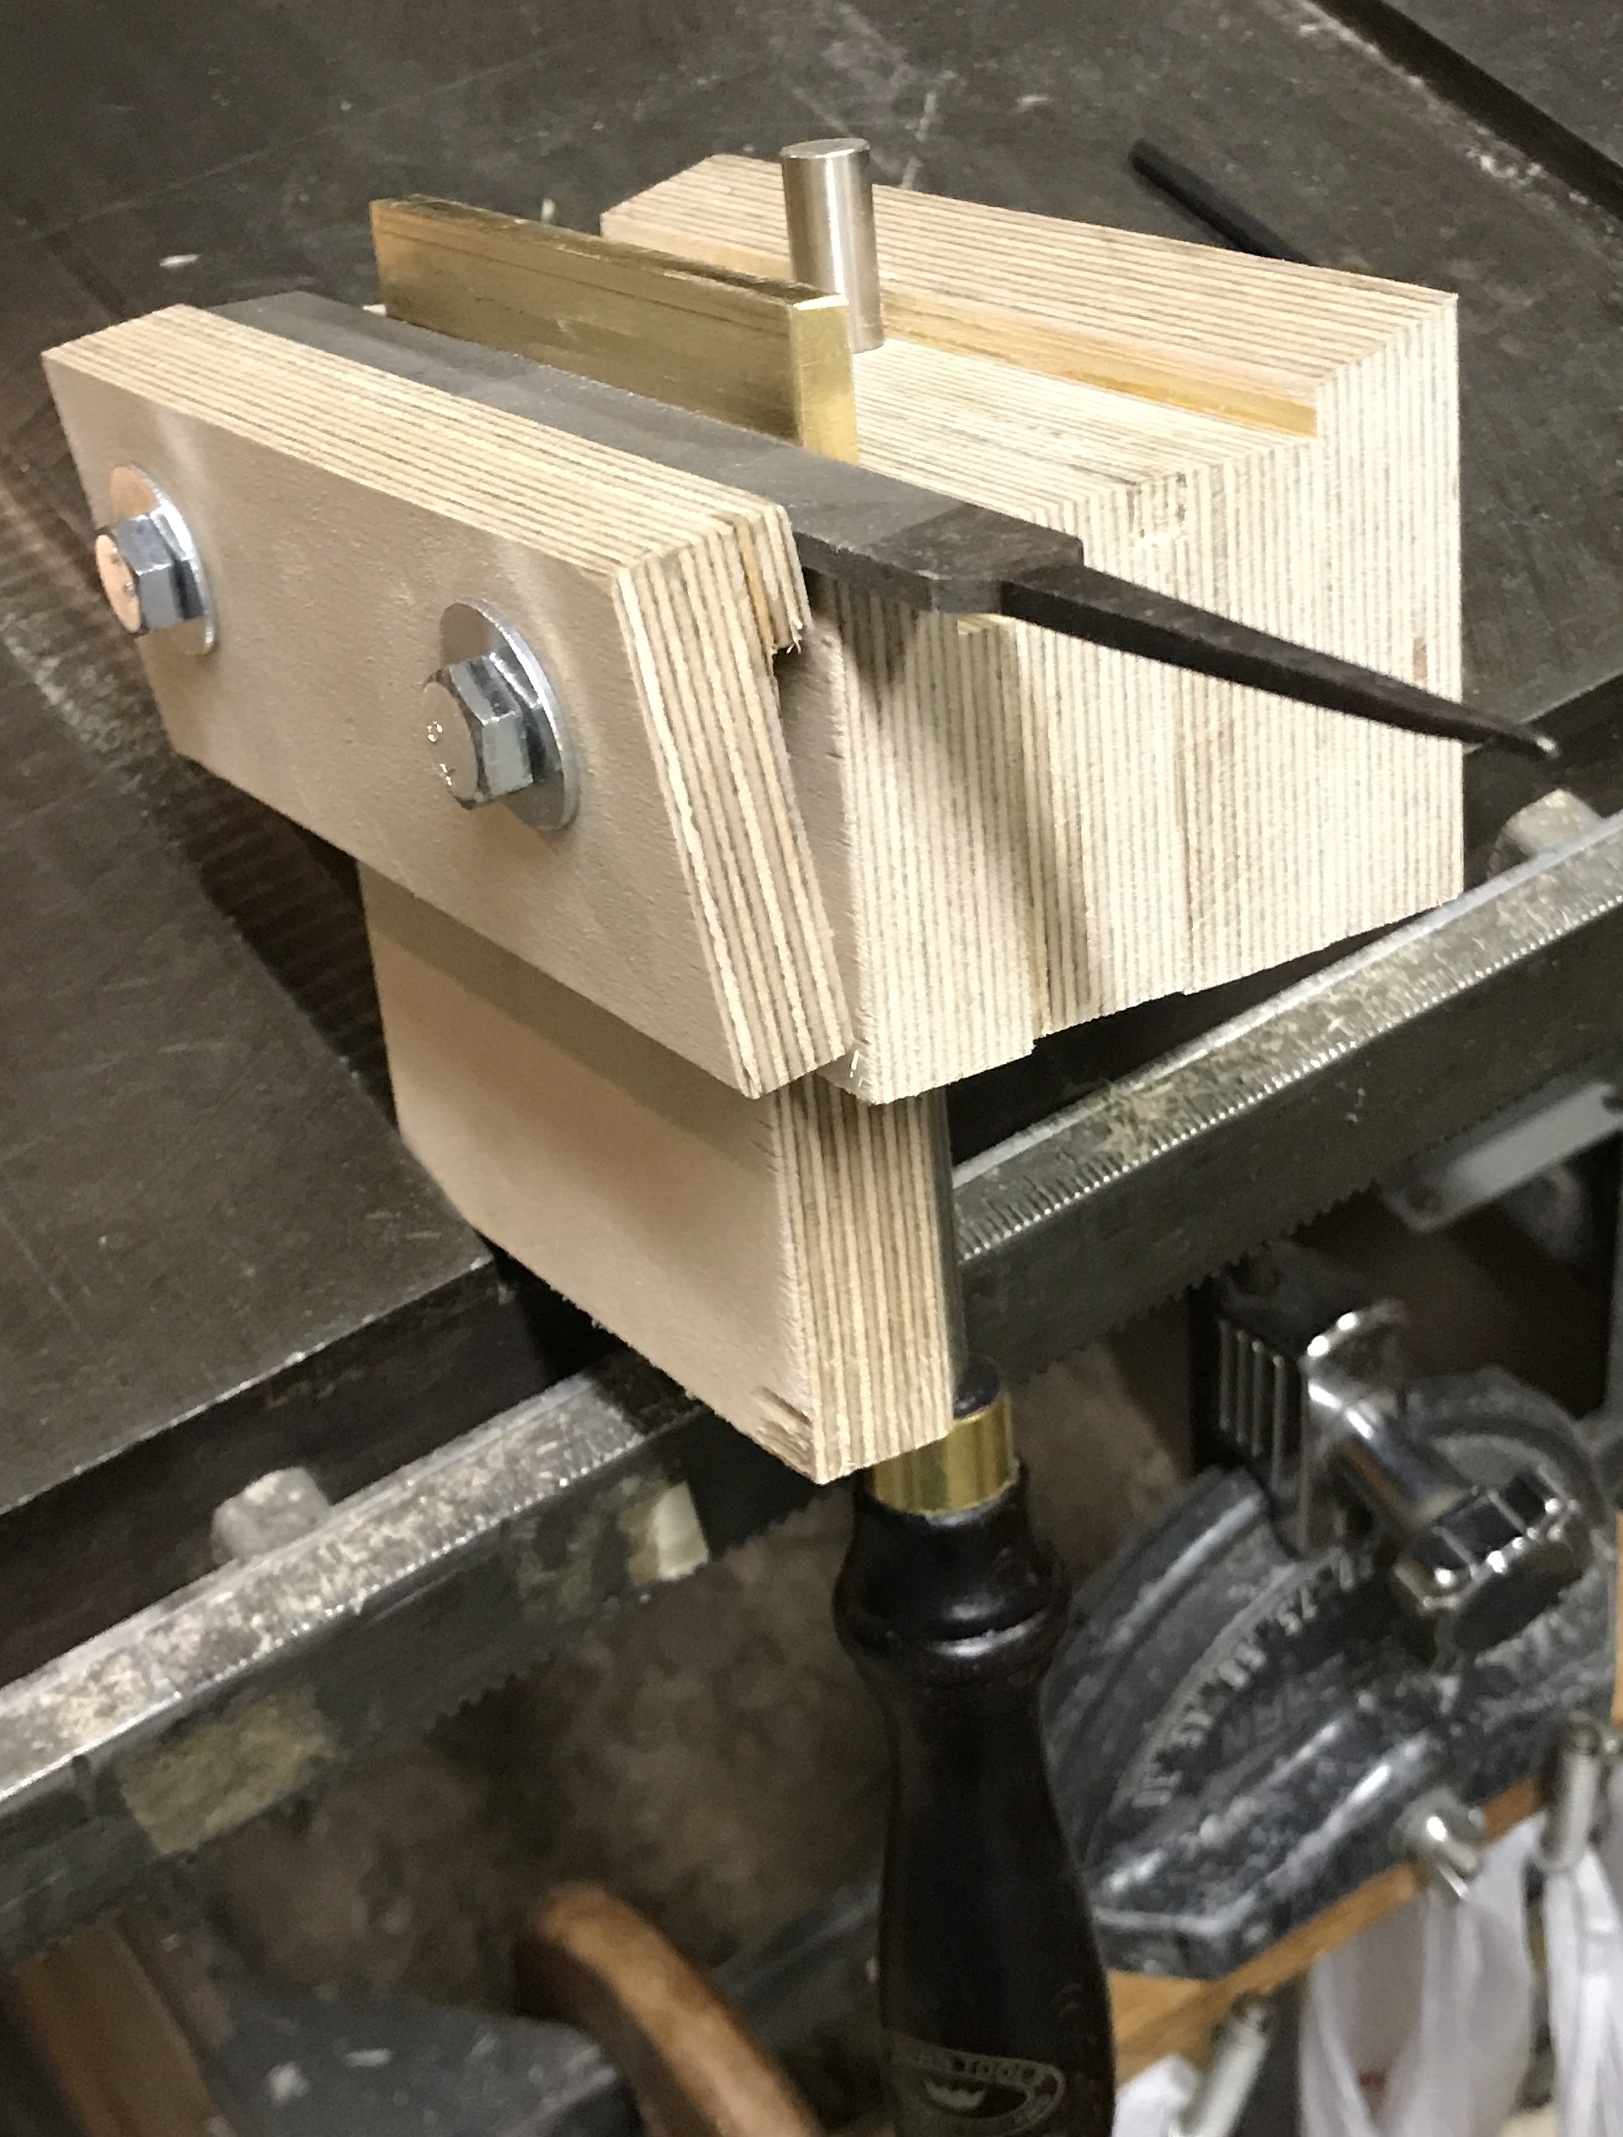
The jig was tried out on the scraper from Mark Adams School of Woodworking. Sharpening was a very straightforward process resulting in a scraper burr that produced fine scrapings and left a very smooth surface on the scrap scraped.
File the edge with a fine file. Color the edge of the tool with a permanent marker. This will allow you to see where you are cutting. When the color is gone, the filing is done. Hone the edge of the scraper on the sharpening stone with a single block of wood supporting it from the side. This is foolproof and allows you to spread the wear out across the stone’s face by moving the block of wood. Hone the faces of the scraper by propping up the back of the tool on a thin ruler set on the stone (after coloring the edge of the face with a marker). This technique, called the ruler trick, sharpens only the section of steel up by the cutting edge. It takes far fewer strokes. And the slight change in edge geometry has no discernible effect on the final cutting edge. Burnish the flat face of the scraper before burnishing the edge to turn the hook/burr. This work hardens the edge and creates a small point where the edges meet. This makes turning a burr much easier. Burnish by laying the scraper flat near the edge of a table and then run the burnisher along the edge with little angle. Finally, burnish the edge at about 15° to raise the burr. This should require no more pressure than spreading butter on toast and should only require two or three strokes.